Skip to content

šŸ“ Blog

SmartRap - Build

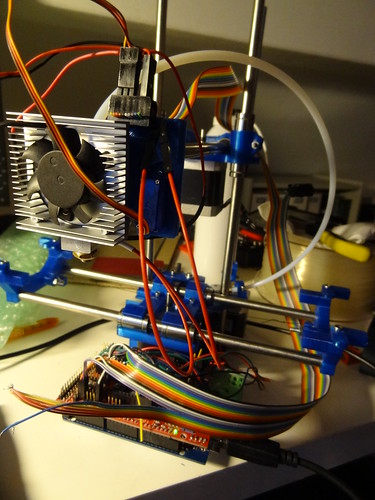
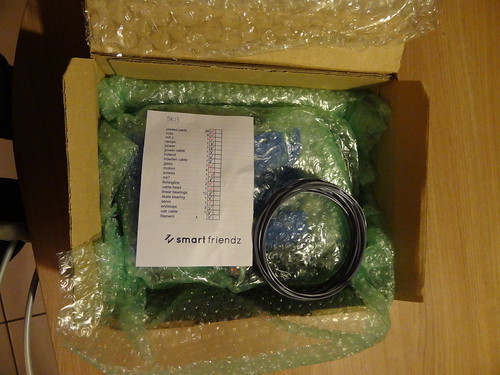
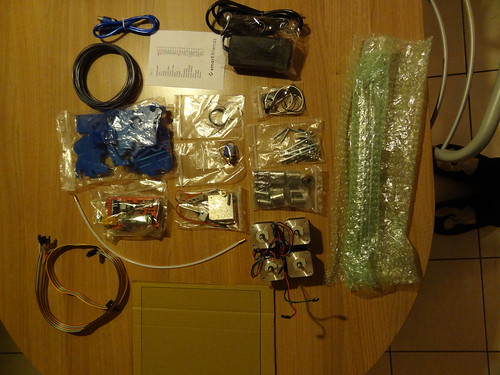
After months waiting for it, here comes my 3D printer.
To be precise, I received the parts and needed to build it.

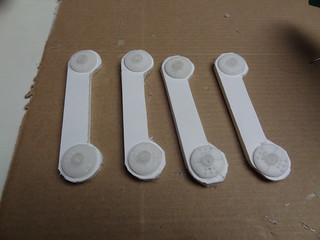
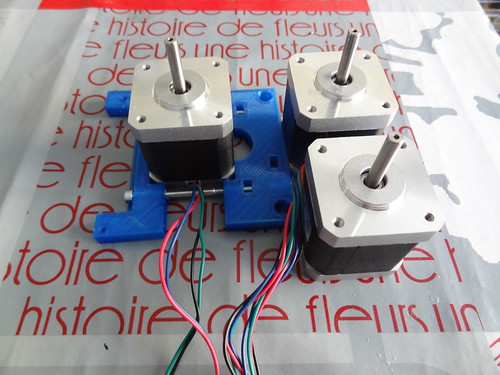
DSC03651DSC03654

Yes, lot of works. But everything looks well prepared.
First steps were quick, no bad surprise.

DSC03660

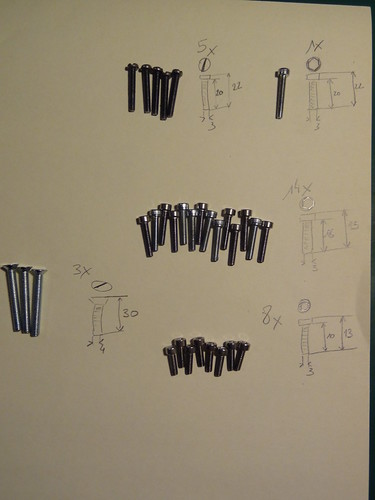
Until some missing screws.

DSC03661

The creator of the SmartRap is very kind and reactive, and after some new screws from him and my personal stock, here we go again.

DSC03664

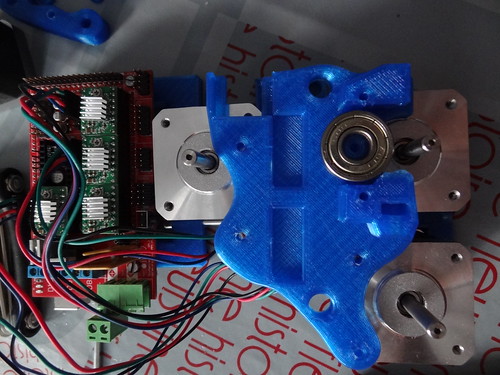
At some point, I even built something I can plug :)

DSC03676

To be honest, this post is just a short version of several weeks.
I spend a lot of time on other tasks, some professional, some for the family and some for kids coding event ;)
I hope to post very soon some pictures of my first print !

Gary - Little 2

That’s been a long time since last update. Maybe I should experiment less and finish some projects!
But hey, the blog is about little experiments ;)

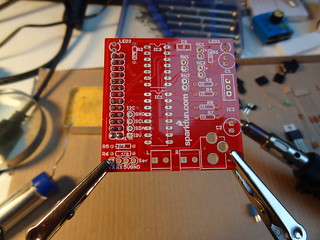
I always wanted to add wireless communication to Gary and my Raspberry Pi wants to travel: Deal! I bought a nice RaspiRobot kit, but it comes like this:

Here we go!

First time for me to solder so nice but tiny things :)
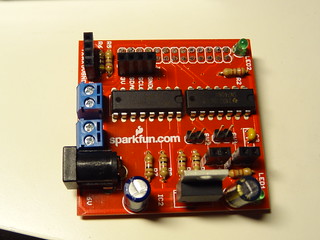
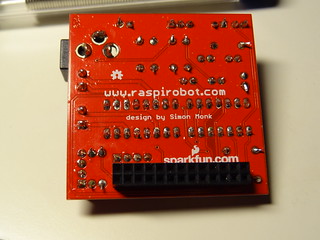
I think I got it pretty well:

Everything solderedI think it's acceptable

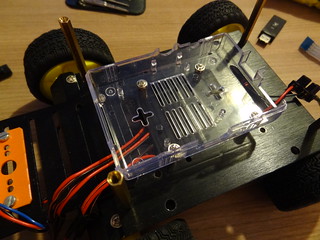
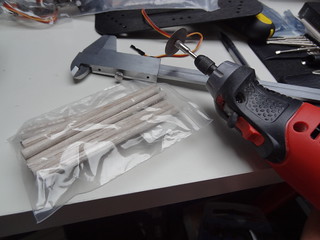
I adapted the case I have with some little drill game:

Gary got a new brain

I forgot to take a picture with the Pi and the Wifi dongle.
The python code works and I will translate it to Golo-lang or Java.
I also have some camera streaming code working, but the Pi camera is really not a good piece of hardware.
I’ll search another solution.

Gipsy

As seen in my previous post, first attempt to build a quadrupod ended with a jump from the desk.
Hopefully, I learned a lot and I was ready to launch the next experiment.

My wife just received this very nice material from a friend and there’s enough for me too :)
I think the best English translation is paper foam board, but you will see it later.

This time, I chose to get a step further and build a 3DOF quadrupod.
As usual, as I don’t have 3D software knowledge, I draw my ideas.
Very quickly, thanks to the foam board, I was ready to try real parts:
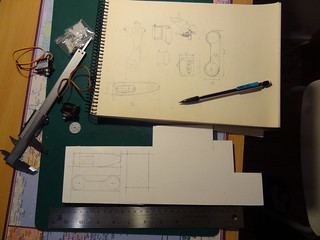
from thoughts to real

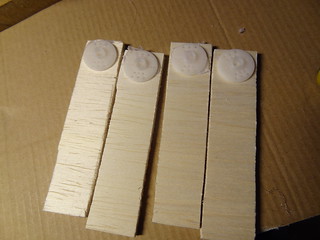
Easy to cut, strong enough, first leg parts were quickly ready:
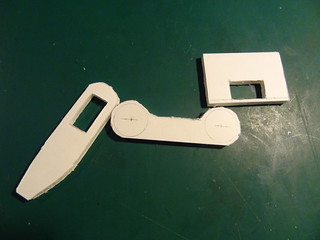
one leg kit

I had to get back servos and servo horns from the poor Sticky.
Bye Sticky, you were very useful:
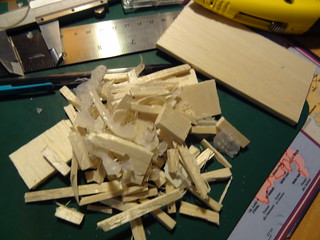
good bye sticky

Using the hot glue gun once more, I started to assemble the legs:
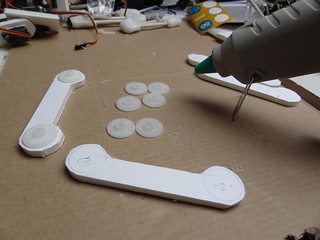
new femurshorn glued

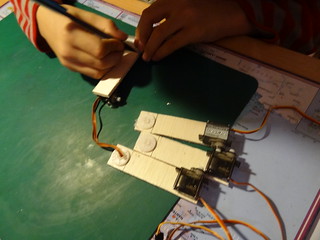
When a leg is ready, I thought it might be good to check the 90° position of the servos:
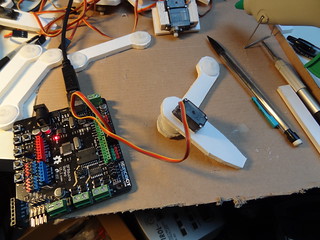
align servo

Quite a lot of work, but that was fun:
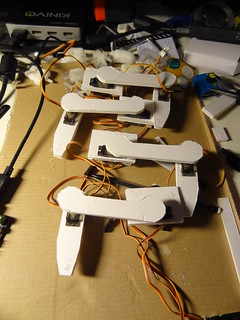
4 legs

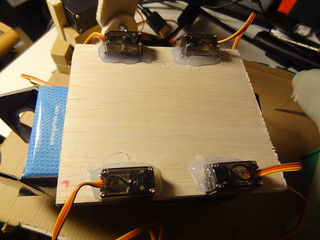
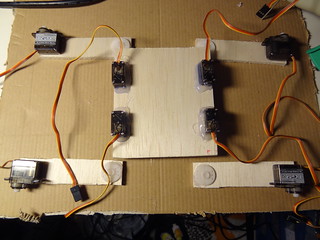
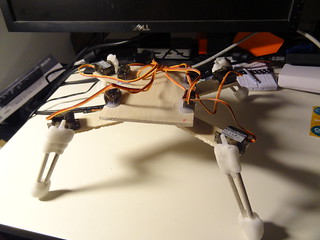
I quickly cut a platform and here is the first shoot of Gipsy:
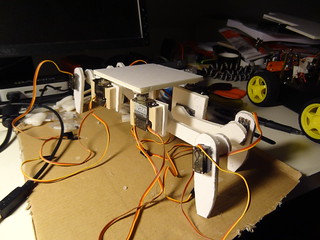
structure ready

And there, I learned another lesson: glue is good, but you have to screw horns on the servo.
Until now, I just pushed the horn, but here comes the first true physical constraints.
So, I carefully use my cutter to get back all horns, screw them and glue back.
No true difference to see, but hey, I’ve done it! :)
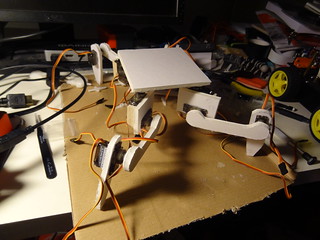
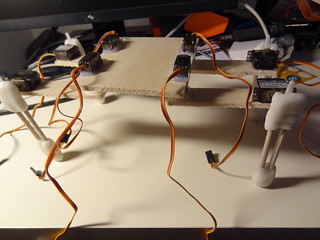
same structure but horns are screwed now

Then, I started to plug all 12 servos to my DFRobot Romeo board.
Which bring me to my next lesson: always put a proper code on a board before switch on :)
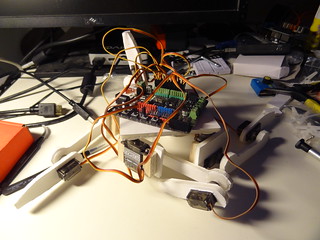
Never plug the board before having initial code

No harm, but I thought I was stupid because I didn’t initialized all the different 12 ports used.
To be honest, I believe there’s also an electrical issue, as I was only USB plugged.
As I didn’t meant to move all servo at the same time for the moment, I thought USB was enough.
Obviously, this is not the case.

Next step will be to determine if this is an electrical issue.
I’ll add an external power source as in Gary

Also, I started to study the way I’ll code the movements. It looks harder to move a 4 legs bot than one with 6.
It’s a matter of balance and you need 3 legs on the floor to keep a stable state.
But I start learning anyway, even if at the end I code an hexapod ;)
Sticky - the Way to Quadrupod

As my 4WD slowly evolves, I wanted to think on my next platform.

One of the form that fascinate me is hexapod robots. They quite always looks organics in their moves and it seems that they can be easier to build than full crazy out of price humanoids ;)

Once more, the final push came from Let’s make robot. To be precise, Chopstick junior’s page.
The author, Lumi, has real good tips and tutorials, always finding nice solutions and allows me to think that any material can be used ;)

So it was: I will create some kind of quadrupod, using balsa wood, polymorph and hotglue!

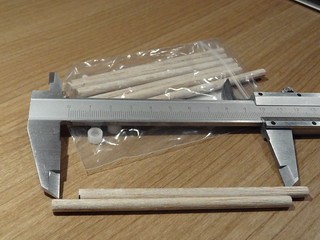
Let’s call it Sticky! I started to cut some light balsa sticks.

first cut the feet segmentsthis is precise enough

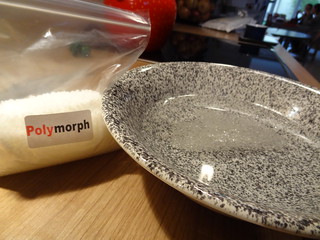
Then came the use of polymorph. It’s a bunch of small grains that you first put in hot water.

polymorph before and begin to melt

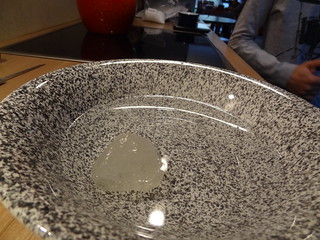
After a little moment, it became a translucid block.

polymorph ready to mold

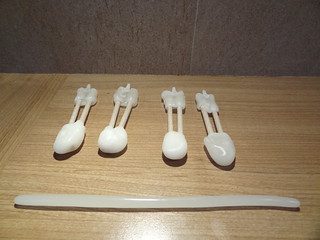
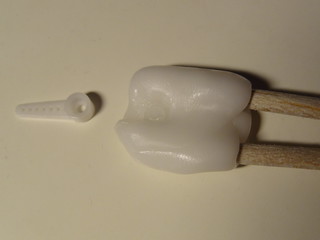
I just had to mold around sticks to create what I could call tibia for the robot. Polymorph can be modelled again and again: just put it back in hot water.

feet ready (will be improved)

Of course, I will have to cut some polymorph to allow Sticky to have nicer feet.

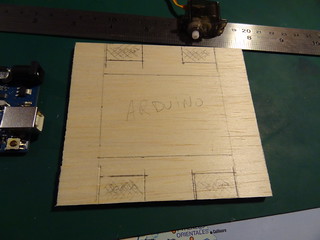
Then, I prepared the plate for the arduino board. Places for the servos were marked.

plan some space for servo

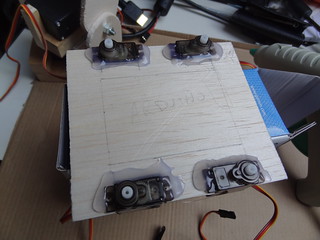
The servos on the platform were fixed using hot glue: quick, strong, fun :)

servo in placeI know, hot glue is devil ;)

Next part were the femur of the quadrupod. Some balsa wood, hot glue to fix servo horns.

legs

Then fix the femur servo on this.

you get the idea ?

Once every pieces of legs assembled, I thought the femur was too long. Balsa wood is a little bit too flexible.

first assembly to have a look

The second issue was that the tibia servo horns were not glued and polymorph was not keeping it under light effort.

nicely printed, but need some glue

So I asked my junior assistant to shorten the femur while I was glueing the tibia horns.

my assistant at work ;)

The result was really better:

new leg size

Unfortunately, I used past all along this post because Sticky had an accident.

One night, with no apparent reason, Sticky decided he had to try thrilling experience: he jumped from the desk. Two femurs were broken, one tibia horn broke the polymorph during the fall.

Am I sad?

You will know it… on my next blog post ;)

Full gallery on flickr as usual.

Tilt Pan

First of all: I wish you a happy 2014!

Lot of projects, lots of fun and everything will be good :)

Here, I now need to put down every project I started and try to do minimal planning to have something cool to show ;)

Today, let me show my little experiment on pan tilt feature. I plan to use it somehow with Gary but I had first to see what I can do.

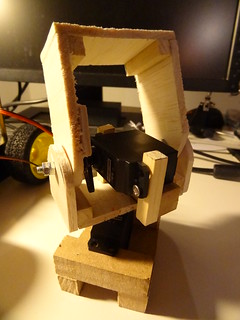
As it is already done, let me show you the little prototype I made:

la bĆŖĆŖĆŖte

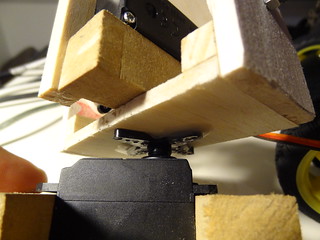
I used wood to quickly see what needs to be done. The pan is a simple servo I had, glued on wood:

pan

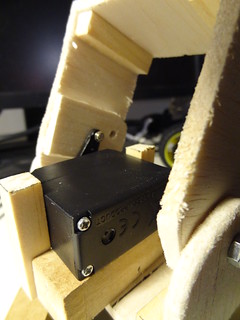
The tilt is the same kind of servo, with a screw:

tilt

The main issue at the end, is even if balsa wood is quick to cut and glue, it is a very bad idea to have two parts sliding on each other.

It works, but use those servos is a bit too much for my plans (moving a small Raspberry Cam).

My next model will use smaller servos and maybe plastic cardboard, or printed part as soon as I get my 3D printer ;)

See you soon…